Building a Bioactive Vivarium: A Step-by-Step Guide for Amphibians
November 25, 2025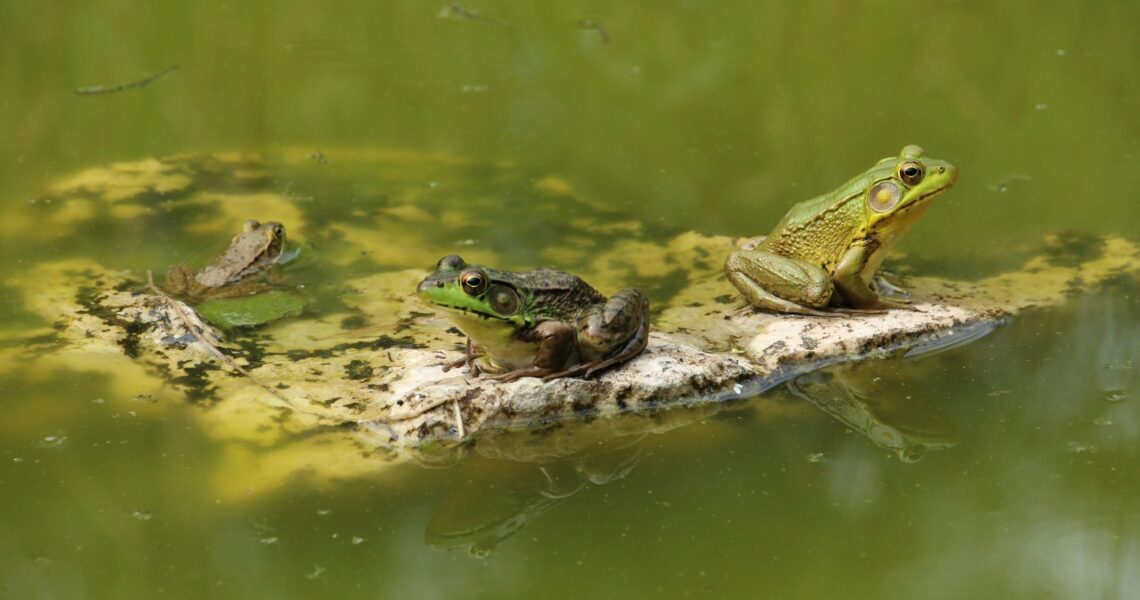
Building a bioactive vivarium for amphibians isn’t just a trend, it’s a healthier, lower-maintenance way to keep your animals thriving. In a well-designed setup, plants, microfauna, and fungi handle much of the waste, leaving you with cleaner water, steadier humidity, and less stress for your animals. This guide walks you through the process step by step, from planning and layering to cycling and long-term care, so you can create a stable, living system that suits your specific species. Whether you’re housing dart frogs, tree frogs, or terrestrial salamanders, you’ll find clear, practical steps to get it right the first time.
Plan Your Bioactive Build
Choose Suitable Amphibian Species
Not every amphibian belongs in the same bioactive vivarium. Arboreal tree frogs (e.g., red-eyed tree frogs, White’s tree frogs) want vertical space, broad leaves, and frequent misting. Terrestrial frogs and salamanders (e.g., dart frogs, fire-bellied toads, tiger salamanders) prefer dense ground cover, deep leaf litter, and stable humidity. Many newts enjoy semi-aquatic paludaria with gentle flow. Skip fully aquatic species like axolotls for this guide, they do better in dedicated aquariums with low light and cool water.
Match species by climate. Most tropical frogs thrive at 72–78°F with high humidity (70–100%) and low air movement. Temperate salamanders often need cooler ranges, sometimes 60–70°F. If your room swings hot, plan cooling and shade first, amphibians overheat quickly and can’t tolerate dry air.
Enclosure Size and Materials
Pick an enclosure that fits the adult size and behavior, not the juvenile you’re tempted by. For a pair of small dart frogs, a 18×18×18 inch bioactive vivarium works. Medium tree frogs do well in a 18×18×24. Salamanders that burrow benefit from more floor space, 36 inches long isn’t overkill. Glass terrariums with front-opening doors simplify misting and maintenance. Avoid raw wood interiors: it swells and molds. If you’re handy, PVC enclosures with glass fronts hold humidity well and resist rot.
Ensure good cross-ventilation. A screen top with a front vent helps prevent stagnant air and cuts down on mold. If your home is dry, partially cover the screen with acrylic or glass to keep humidity without stifling airflow.
Tools and Supplies Checklist
Gather what you’ll actually use: drainage media (LECA or egg-crate), mesh barrier, substrate ingredients, leaf litter, cork and wood, safe plants, springtails and isopods, dechlorinator, test kits (for any water feature), a mister or fogger, timers, and a siphon or baster for drainage. Silicone (aquarium safe), zip ties, and stainless tweezers will save you headaches during the build.
Build Layers: Drainage, Barrier, and Substrate
False Bottom Options and Drainage Access
Your drainage layer keeps the root zone oxygenated and prevents your substrate from turning swampy. Two solid options:
- Expanded clay (LECA): quick to pour, reusable, and easy to shape small slopes.
- Egg-crate (light diffuser) on PVC risers: lighter and allows a plumbed drain if you want a bulkhead.
Aim for 2–3 inches of drainage. Always plan a way to remove water. Either install a small bulkhead valve at the front side of the tank, or leave a hidden access corner for a thin siphon tube. Being able to pull out tannin-rich water prevents anaerobic “sour spots.”
Barrier Layer Installation
A barrier keeps soil from clogging the drainage. Use a rigid, rot-proof mesh (fiberglass or plastic window screen: not metal) cut to the exact footprint. Lap it slightly up the walls and pin with small dabs of silicone or wedge under hardscape. You want water to pass through freely but soil particles to stay put.
Bioactive Substrate Recipe and Leaf Litter
For most tropical amphibians, blend a breathable, moisture-retentive substrate: roughly equal parts fine orchid bark or coco husk, coco fiber, and leaf mold or pesticide-free topsoil, plus a handful of horticultural charcoal and long-fiber sphagnum for structure. You’re aiming for springy, not muddy. Avoid fertilizers and perlite (amphibians can ingest it). For temperate salamanders, add more topsoil and leaf mold for a cooler, heavier feel.
Top with a generous layer of mixed leaf litter, live oak, magnolia, and sea grape hold up well. Add a pinch of decaying wood chips and a few cork flats. Decomposition fuels your microfauna and gives amphibians micro-hides to regulate moisture and stress.
Hardscape, Plants, and Clean-Up Crew
Hardscape Placement and Anchoring
Hardscape creates usable territory and prevents trampling of plants. Use cork tubes, cork rounds, and hardwood branches (grapevine tends to mold quickly). Bury base ends deep into the substrate or anchor to the background with zip ties and expanding foam that’s been sealed with silicone and coco fiber. Build a gentle slope from back to front for visual depth and better drainage. Leave stable “landing pads” near perches where tree frogs will rest.
Amphibian-Safe Plant Selection
Choose plants that tolerate high humidity and low to moderate light. For tropical set-ups: pothos, philodendron, peperomia, ferns (Microsorum), bromeliads, spider plants, and creeping figs. Use bromeliads sparingly with larger frogs: they can collapse under weight. For temperate salamanders, think mosses, small ferns, and hardy shade plants. Rinse roots thoroughly to remove fertilizers and soil additives, then pot into the vivarium substrate. Plant densely: the biofilm and microclimate get better with coverage.
Introducing Springtails and Isopods
Springtails are your frontline mold managers. Seed them early and heavy by pouring culture water into the leaf litter and under cork. For isopods, pick species that match conditions and won’t just become snacks. Dwarf white isopods thrive in constantly damp leaf litter and reproduce well even though predation. Powder blues/oranges can work in drier pockets. Provide calcium (cuttlebone shards) and decaying wood so they don’t nibble live plants. Expect amphibians to eat some, your job is to keep populations ahead of the appetite.
Environment Controls: Lighting, Heat, Humidity, and Water
UVB, Shade, and Photoperiod
Amphibians don’t all need intense UVB, but low-level UVB supports D3 synthesis and plant health. A 2.0–5.0 UVB tube across the screen, with dense plant cover to create shade, strikes a good balance for many tropical frogs. Provide a 10–12 hour photoperiod. Always give options: bright zones for plant growth and dim retreats so animals choose their comfort zone. If you measure UV, target a UVI around 0.5–1.0 in open areas and near zero in hides.
Temperature Gradients, Misting, and Ventilation
Aim for a gentle gradient by putting heat and light at one side. Most tropical amphibians do best around 72–78°F daytime, a few degrees cooler at night. Tree frogs tolerate brief spikes: salamanders usually don’t. Automate misting once or twice daily to maintain 70–100% humidity, but allow short drying cycles so surfaces aren’t perpetually wet. Cross-ventilation is your mold insurance, top vents out, lower vents in, so air moves without drafts.
Water Features, Filtration, and Quality
If you include a water area, keep it shallow with easy exits. Use dechlorinated or remineralized RO water. Gentle filtration (sponge or small internal filter) plus leaf tannins keeps biofilms in check. Test ammonia and nitrite during the first month, even small water volumes can crash fast. Change a portion of water weekly and vacuum detritus with a turkey baster. Keep flow slow: amphibians aren’t river fish.
Cycle, Monitor, and Introduce Amphibians
Establish Microfauna and Initial Cycling
Before any animals move in, let the system run. After planting and seeding springtails/isopods, mist daily and feed a tiny pinch of yeast or powdered fish food to fuel microfauna. Run lights and any water feature on the schedule you’ll use later. Within 2–4 weeks, you should see springtails thriving and plants pushing new growth. Semi-aquatic builds benefit from 4–6 weeks of cycling with water testing until ammonia and nitrite read zero.
Monitor Parameters and Stability
Track temperature, humidity, and, if applicable, UVI and water chemistry. Note condensation patterns: dripping glass can indicate too little airflow. Smell the enclosure weekly. A foresty, earthy scent is good: sulfur or swampy notes mean stagnant zones. Log changes so you can separate normal settling from real problems.
Quarantine and Stress-Minimized Introduction
Quarantine new amphibians 30–60 days in a simple, sterile setup to monitor eating, stool, and any parasites. When they’re clear, introduce at dusk. Dim the room, open the doors, and let them move at their own pace. Offer cover right away, broad leaves and cork crevices, then leave lights low for the first day. Start with small feedings: a stuffed frog in a fresh vivarium can overload the bioactive team.
Maintenance and Troubleshooting
Feeding Without Overloading the System
Feed appropriately sized prey two to four times per week depending on species and age. Dust insects with calcium and vitamins as your vet or care sheet recommends. Target feed with tongs near perches so crickets don’t vanish into the leaf litter and chew on plants or animals. Remove obvious leftovers within an hour. If you see detritus piling up, reduce feeding frequency or prey count.
Pruning, Replanting, and Substrate Refresh
Trim fast growers monthly to keep light reaching lower plants and to maintain air movement. Replace weak plants promptly, bare patches breed algae and gnats. Top up leaf litter every few weeks and spot-tuck fresh sphagnum around roots. Every 12–18 months, consider a partial substrate refresh: lift hardscape, remove the top few inches, and backfill with fresh mix while preserving the microfauna-rich lower layers.
Mold, Algae, and Biofilm Management
A little white fuzz on wood during the first month is normal. Springtails will handle it: you can gently wipe excess during spot checks. If mold persists, improve airflow and reduce misting bursts. Algae on glass comes from too much light and nutrients, cut photoperiod by an hour and wipe with a soft pad. Thin biofilms are part of a living system: only intervene when surfaces get slimy and hazardous.
Pest Outbreaks, Flooding, and Sour Spots
Fungus gnats love overwatered substrate. Let the top layer dry slightly between mists, use yellow sticky cards outside the enclosure, and increase springtails. If the drainage layer floods, siphon immediately and check for clogged barrier mesh. A persistent rotten-egg smell signals anaerobic zones, stir the top inch gently, add more leaf litter, and reassess drainage access. In worst cases, you may need to sectionally lift substrate and re-aerate.
When to Rebuild or Reset
Reset when core problems won’t resolve: repeated pathogen outbreaks, pervasive anaerobic odor, collapsing plant health across the board, or a contaminated substrate (pesticides, soap, copper). Move animals to a temporary, simple setup, salvage hardscape after disinfecting, and reuse what’s safe. Then rebuild slowly, verifying each stage, drainage, airflow, microfauna, before reintroducing your amphibians.
Conclusion
Building a bioactive vivarium is about designing a small ecosystem that runs on cooperation, plants, microbes, and invertebrates doing quiet, constant work so your amphibians can just be amphibians. If you plan around your species, build smart layers, seed the clean-up crew, and give the system time to mature, you’ll spend less time fixing problems and more time enjoying natural behaviors. Start with stability, not speed. In a few weeks, you’ll see clearer water, vigorous plant growth, and calm, well-hydrated animals, a living proof that you built it right.